





In this tutorial

My notes from this video
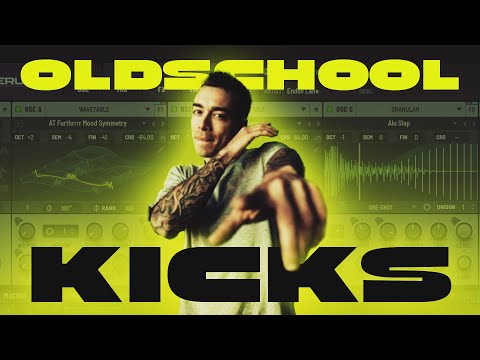
The first thing you have to understand about these kicks is that I use Serum the same way I would use my playlist. You split up your kick in a punch, a crunch, a reverb, whatever. Try to visualize that when you make any kick in Serum. Oscillator A is the punch, a sine wave. Oscillator B is the crunch, down two octaves so it is a bass.
Then the routing. Oscillator A goes into bus 1 but not into the filter or main, otherwise it gets duplicated. Same goes for B. Put it on none and bus 2. Now the effects are split up in one and two.
Once you're done with routing, the phase randomization of the oscillators needs to go to zero. That's the area in which Serum can randomly select the phase point of your oscillator. It changes every time, and if it's not consistent your kick will sound different and you'll ask yourself why. It's just because the phase changes, and that influences everything, especially with a lot of distortion in the later stages.
The multiband compressor on the main channel plays around with the phase again, but that's okay. Just make sure you're not playing your final kick in your drop using Serum. Render what you have in Serum and the phase stays in place.

To make the kick a bit more alive I use the Diffusor filter and the Combs filter, after the hard clipper. I take down the mix of the Combs filter, but I don't want it to hit on the punch. So I take LFO 1, which is the volume of my punch, and put it on reverse on the mix. When the punch is playing it's zero and it opens up in the crunch. That creates a very good blend between the punch and crunch, with that interesting character on the crunch only.
Then I add some resonance to let it ring a bit more, and I pan it. That sounds counterintuitive because it really splits the channel, but I use a utility afterwards and put the bass on mono. That should fix a lot of the phase issues.

Take oscillator B and instead of routing it to bus 2, get it into the filter. Then make the filter go to bus 2, not to main. Now you have an extra stage for the crunch only. Find a multi filter, because those allow you to do multiple filter effects at once, for example a high pass and a band pass.
Take down the mix and it gives a very cool movement at two places. I assign a new LFO on envelope to both the frequency and the cutoff. Don't do it with the mix open, because you're eating the sub away from your crunch. If you reduce the mix, it just adds an edge. It's that movement that really helps get the kick together.

How you can upgrade this kick is just add more filters, add more distortion and see where you get. I would add a diode somewhere, and maybe a filter in front of those distortions. An Allpasses filter with the mix down sounds good on the punch, for example. This is the experimentation process. You don't have to follow rules anymore, the setup is very simple.
You set it up in place first, then you introduce more filters and distortions and really play around with it. There are so many kicks you can get out of this plugin, and if you keep processing them you get to something that's very usable.
FL Studio·Serum 2
Rooler·Sickmode
Artists are mentioned as inspiration only. We're not affiliated with them and don't sell their work.
Want some free packs? Unlock our freebie vault.
We only send you harder-style content. Unsubscribe anytime.
Open the Freebie VaultNewest freebies: instant download on the YouTube freebies page.